From artwork to something you can make
Your drawing.
A trail of stitches.
A stencil to print.
Turning a picture into a stencil takes more than tracing its edges. Here’s how we keep the character of your artwork while making room for thread, pen, and printer.
Find a stencil in the Library ↗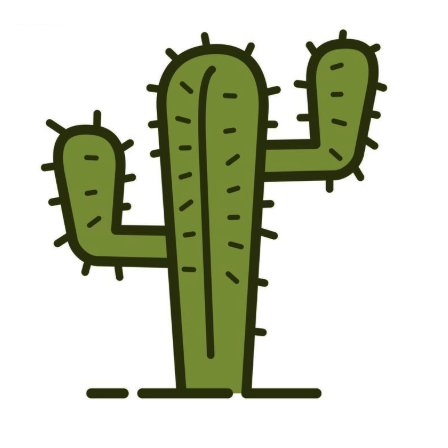
Object selection
Find the artwork you want to stitch.
Upload an image or choose from the Library. Crop to your subject, then select its colors to tell us what belongs in the design—and what to leave out.

Path tracing
Turn the drawing into paths.
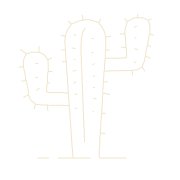
We trace the selected outlines and details, preserving the shapes and open spaces that make your drawing recognizable. Matching shapes can share mirrored placement.
Stitch placement
Let the stitches follow the lines.
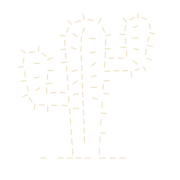
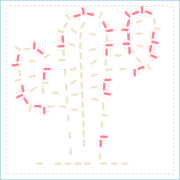
Running stitches follow those paths, balancing spacing around curves, corners, and small details. You can review the layout before it becomes a stencil.
PLA printing requirements
Design for the printer—and your pen.
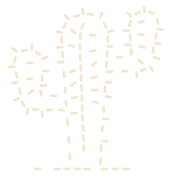
A beautiful stitch plan still needs a practical plate. We account for PLA filament printing, opening width, plate thickness, the print-bed boundary, and the material that needs to remain between openings.
Conflict detection
Find the places that need more room.
Wider pen openings can bring neighboring stitches too close together. We check the actual cutouts for overlaps, narrow material gaps, and openings that approach the plate’s edge.
Resolution & final checks
Make room. Check the finished stencil.
We try expanding and repositioning the design within the plate, and merging redundant stitches where appropriate. Then we check the resulting solid. If conflicts remain, export stays blocked so you can revise the layout.

A checked model is a starting point, not a physical-print guarantee. Always test the stencil with your printer, fabric, and marking tool before starting your project.